
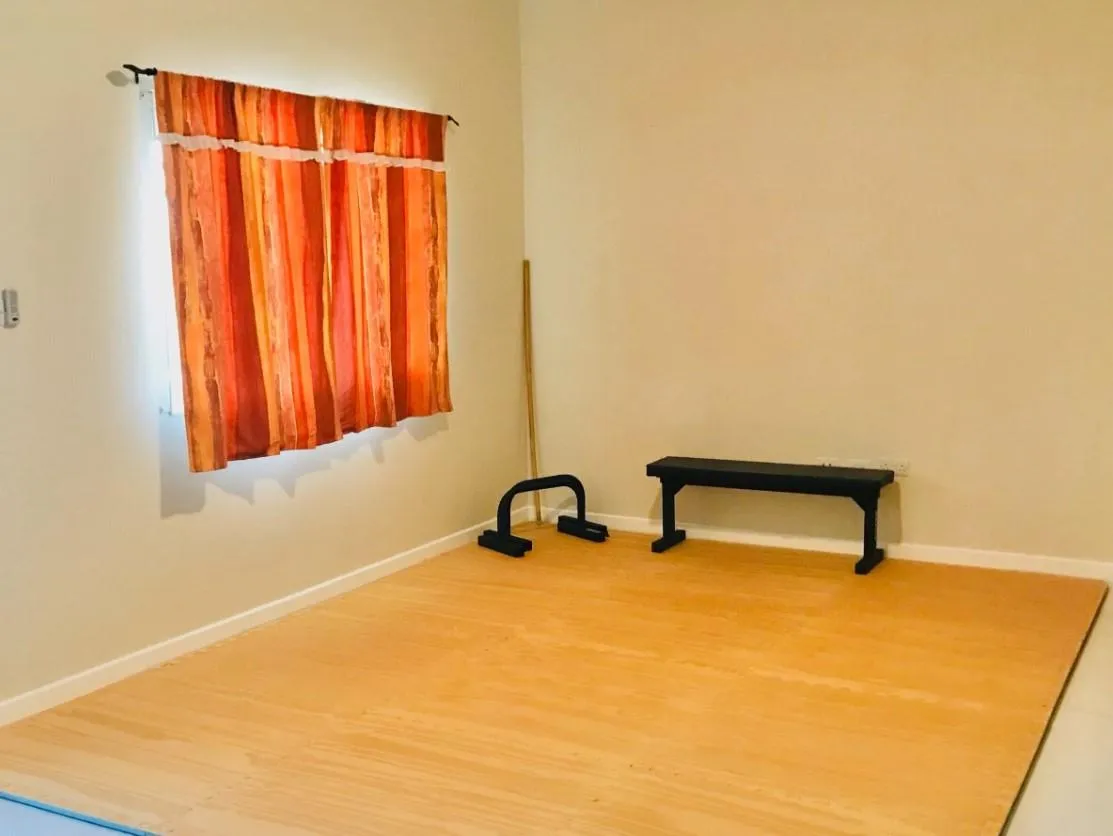
Minimalist Home Gym Set-Up
How to Set Up a Minimalistic Home Gym
Creating a dedicated space for physical wellbeing is a way to empower yourself on a daily basis to work on your physical health.
By having a designated training area, you will naturally make better choices in how to spend your time. We’ve had a designated training area for a decade, and it has changed the way we live everyday in a major way.
To set up a space for yourself to fulfill daily needs of your physical wellness, it is extremely simple and not too expensive.
Having an in-home gym setup is not a substitute for getting outside. We always recommend getting outside every day, regardless of the weather, as well as training outside whenever possible.
That being said, having an indoor space is ideal for a disruption-free zone for a morning yoga/movement practice, filming space, or simply a convenient location to pop into.
We recommend having as little equipment as possible, to maximize empty floor space so that you have the most freedom to move.


Here are some insights into setting up your own space. This is entirely based on what has and has not worked in our experience.
Step 1: Designate the area for movement.
A 6’x6’ area of clear floor space is the minimum you need.
This is enough to suit one person. You can do most things within an area of this size.
Remember that if you have small pieces of training equipment, storage of this should be outside of this 6x6 area.
Step 2: Invest in flooring
With an indoor training space, the floor is one of the most important pieces of the puzzle. We have two general rules for our indoor space: clean, bare feet or clean socks only, and the floor needs to be wiped down/swept on a regular basis.
Whatever we wear on our feet around the house, that does not go on the training area floor. So if we walk around the house with socks on, then we take socks off when we go train.
Your floor should be clean enough to roll around on all the time. Keep it clean, and you’ll notice that it seems so much more inviting.
The flooring you choose should be hard enough to bounce a ball on, but soft enough to jump and land with some shock absorption.
Think of it this way: somewhere in between a mattress and concrete. We have a training area outdoors that is concrete, and some things, like repetitive landing, jumping, etc. just is not ideal on that kind of surface.
Continuous repetitive landing on a harsh surface like concrete, where there is little cushion/absorption will eventually lead to some pain and discomfort in the joints.
Two types of flooring that have worked well for us are high-density foam and rubber stall mats. Both are easy to maintain and protect the surface underneath well.
(A note about stall mats: they definitely smell like rubber, and may darken carpets if in direct contact. I suggest laying a tarp down first, followed by stall mats.)
Step 3: Keep the walls clear
Keep all of the walls clear. Remove everything decorative from the walls.
Now, embrace the idea of them getting scuffed up.
You shouldn’t be afraid of marking them up with hand prints, foot prints, tennis ball marks, and any other kind of markings from your training sessions.
Step 4: Minimize furniture
There should be no living furniture in the room. There really isn’t a need. The room is for movement, and that is it. Maybe a bench, but that’s as far as I’ll go!
Step 5: Minimize equipment
In general, we find the following the most useful:
pull-up bar (either a doorway unit or a wall-mounted unit works perfectly)
gymnastics rings (ideally wooden)
a skipping rope
a stick that is 0.75 to 1 inch in diameter, and one foot longer than your wingspan in length (wooden dowel or a staff)
a weighted ball or sandbag (approx. 5kg to 20kg will suffice - you can also make this out of a backpack filled with objects)
2 10kg dumbbells or kettlebells
at least 3 tennis balls
a workout bench
If your flooring is more industrial, it might be worth investing in a good, machine-washable yoga mat.
There are other larger pieces of equipment that you could get if you have the space and investment, like a weightlifting barbell and bumper plates, stahl bars, and a plyometric box set.
Step 6: Consider ventilation
Proper ventilation is essential in an indoor home gym.
If you are using a spare bedroom in your house, then make sure you have air circulation. Because you’ll be moving around in there, mould and mildew will grow quickly if you don’t have some kind of a ventilation system. (E.g. ceiling fans, floor fans, windows, dehumidifier, central air system, etc.)
If you are using a space that is less outfitted with modern comfort, like an unfinished basement or a garage, go through and think about what you need based on seasonality where you live. Heating, humidity, fans - sorting this out in advance will pay off.
What You Do Not Need
Contrary to mainstream fitness, you do not need machines to be physically fit. Buying any kind of machine for fitness is a waste of money.
You’ll notice our Equipment section above made no mention of cardio machines, weight machines, or any other kind of machines.
We aren’t for or against machines. Rather, if your goal is one (or all) of: physical health, strength, balance, elasticity, resilience, longevity - then a machine is not the means to get you there. There are many alternatives (that are much better for your body) to any machine.
Conclusion
Your mindset and approach to physical wellness will dramatically change for the better if you take a step like creating an indoor training space for yourself.


Copyright © 2019-2026 Athletic Engineering Canada. All rights reserved.